Article Directory
- ShipVista Help
- Integrations
- Workflows
- Guides & FAQs
Connect a Store
In this Article
About
Content
Ensure that you are logged into the app and can see the main dashboard.
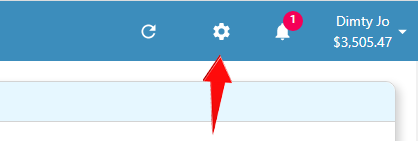
Click the settings icon at the top right hand corner of the window to go to the settings pages.
Click the 'Integrations' button on the left hand side accordian to expand the integrations panel.
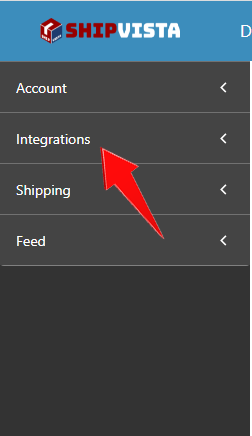
Select the 'Store Setup' option in the panel that opens.

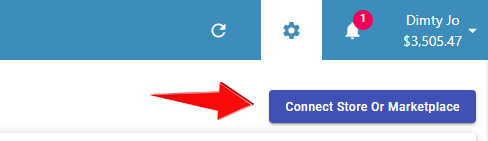
Click the 'Connect Store Or Marketplace' button near the top right hand corner of the screen.
In the dialog that opens, select the logo of the store that you want to connect and a form should open.
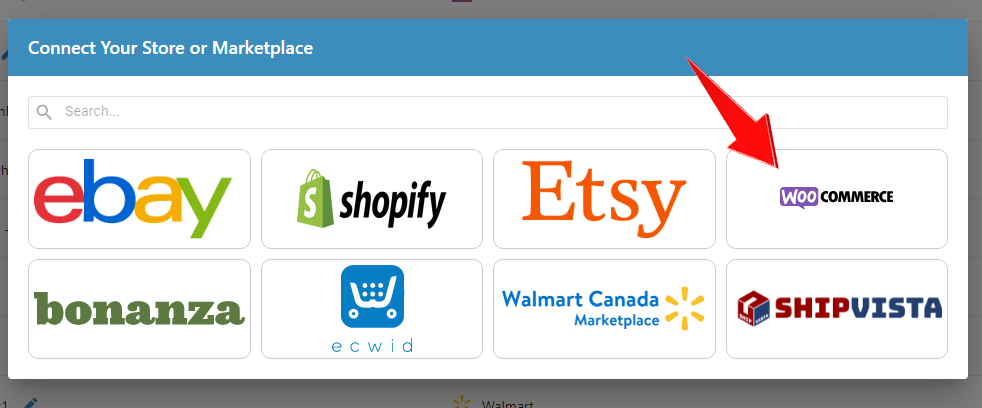
In the form, enter the correct information and proceed by clicking the 'Connect' button at the bottom of the form.
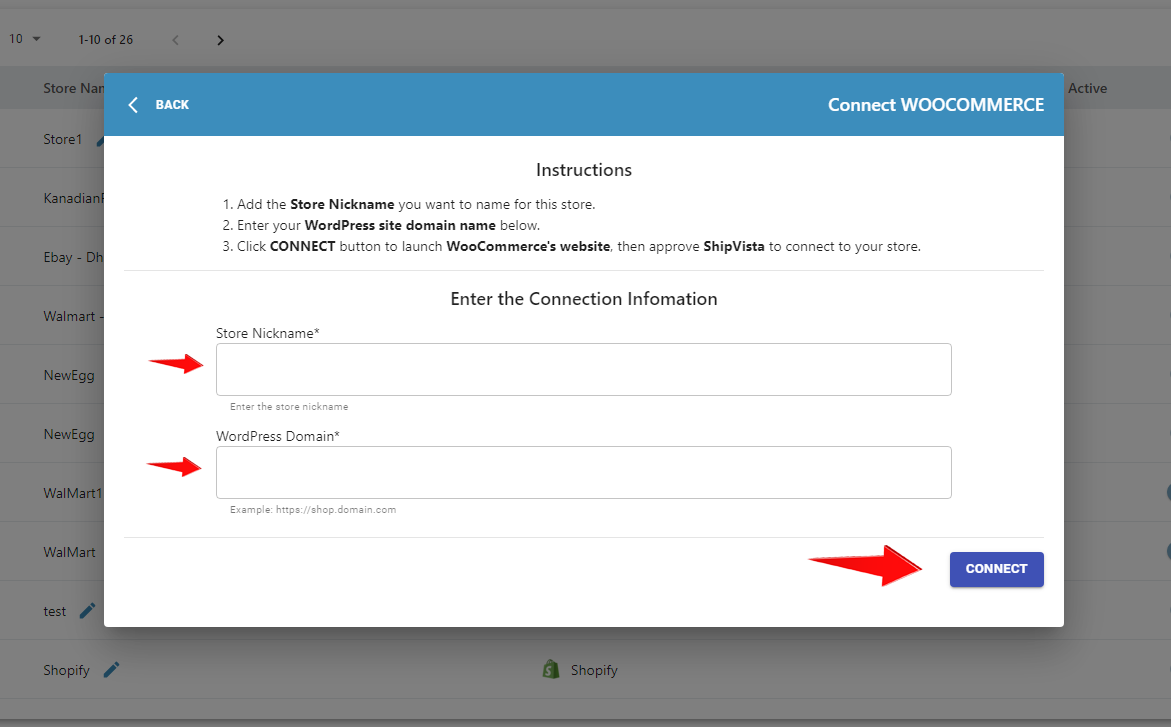
The following instructions will be specific to the store or marketplace that you choose to connect. For this example, we will use WooCommerce.
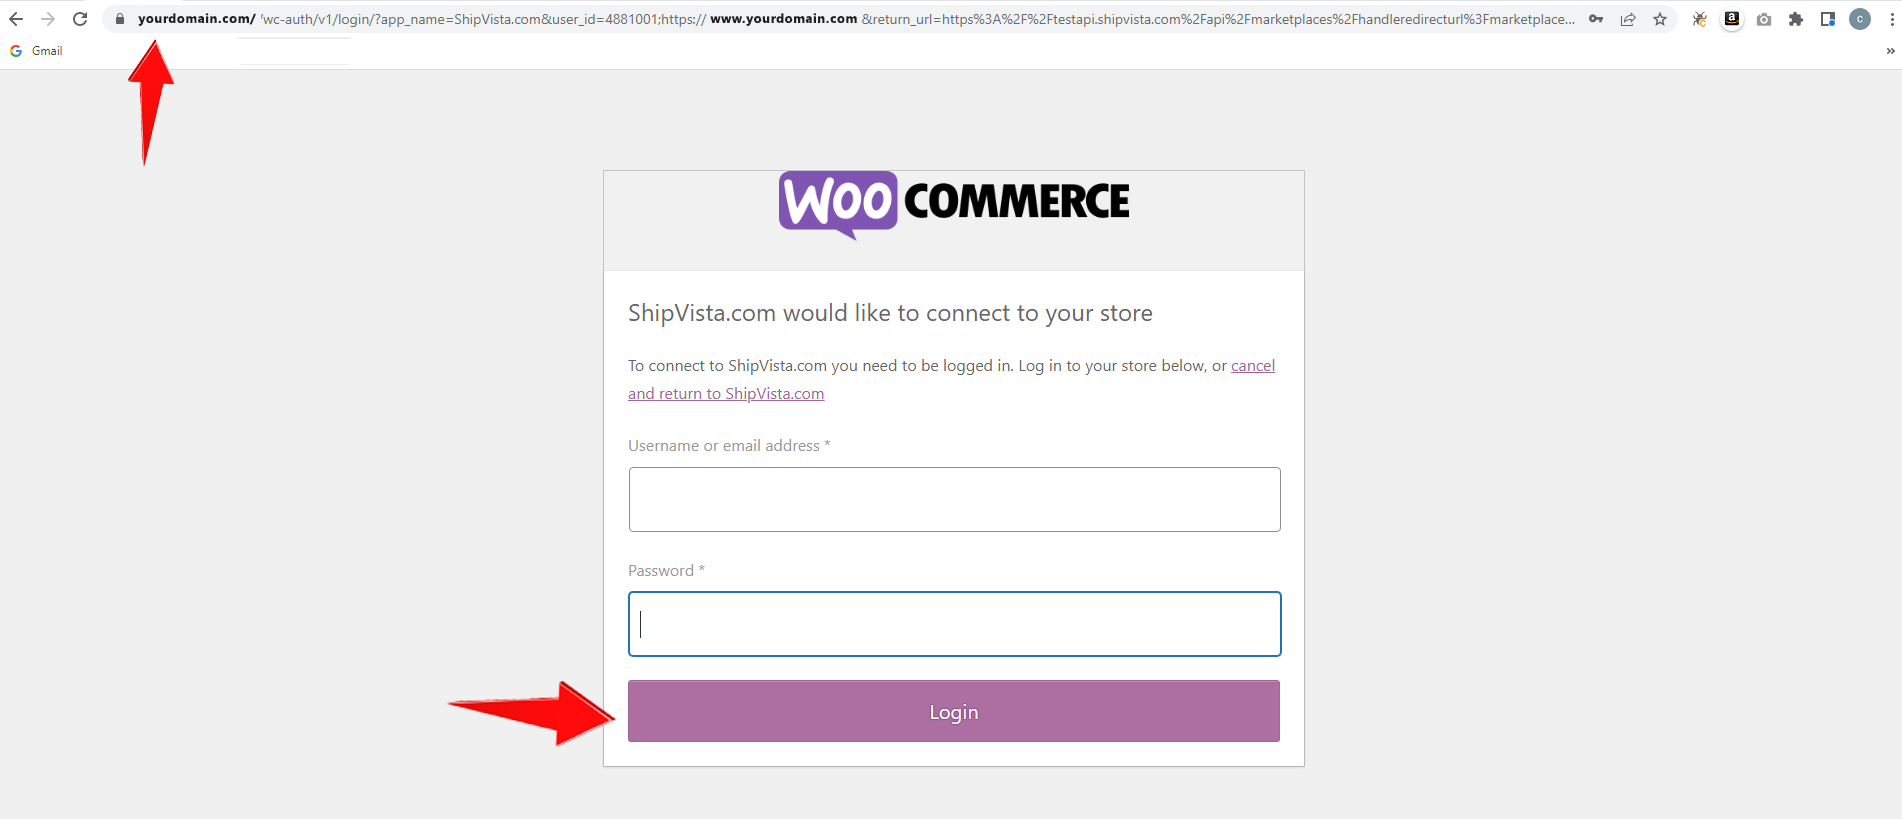
You would be redirected to a page to login to WooCommerce. Please login.
You will then be prompted to give certain permissions to ShipVista. Click Approve.
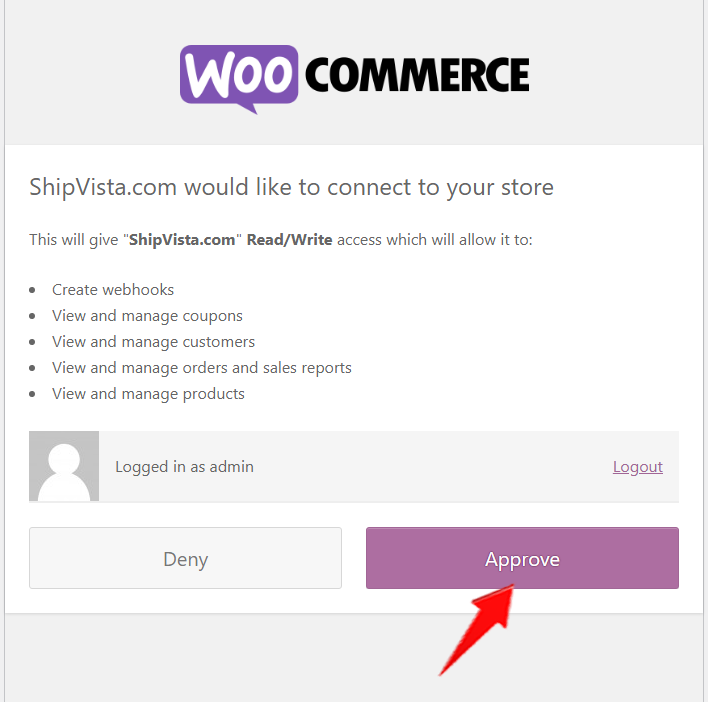
Back in the ShipVista app, your WooCommerce store should be successfully added.

Note: You can find the specific instructions to connect each store on the respective Technology Partner page.