Article Directory
- ShipVista Help
- Manage Orders
- Ship Orders
- Manage Shipments
- Integrations
- Workflows
- Guides & FAQs
How to Create a Label Within the Shipments Page in ShipVista
In this Article
About
Content
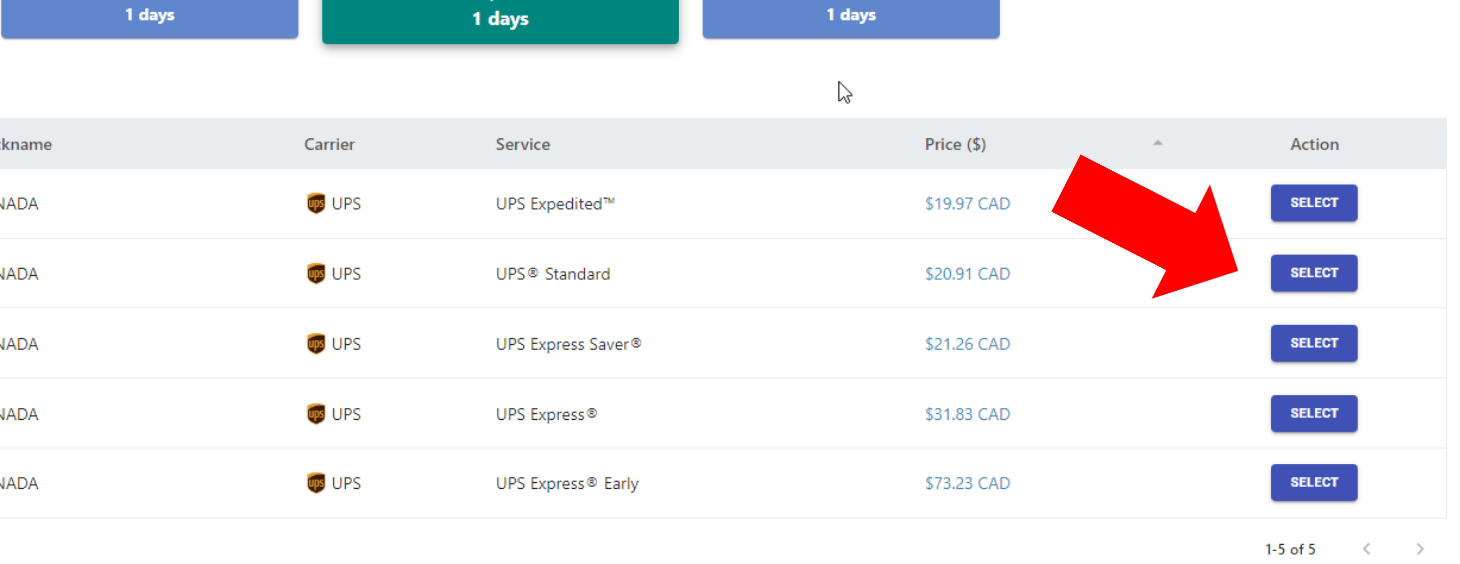
Start by following the instructions on this help page to get rates.
After getting the rates for that shipment, select your preferred carrier and service in the section at the bottom.
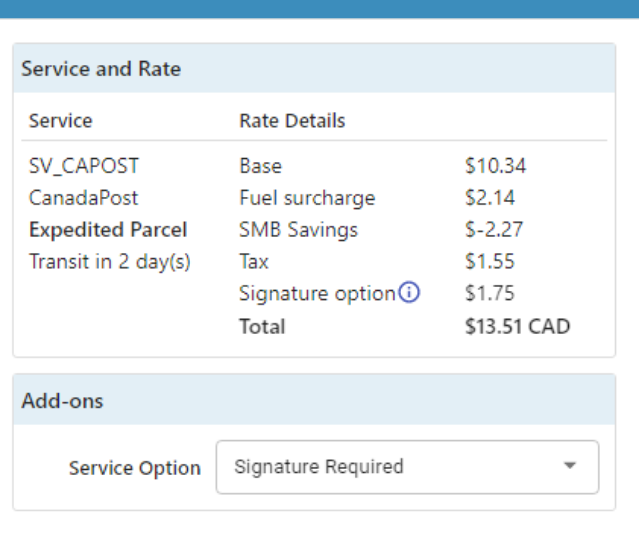
When you select a carrier and service, a dialog will open and show you the details of the shipment.
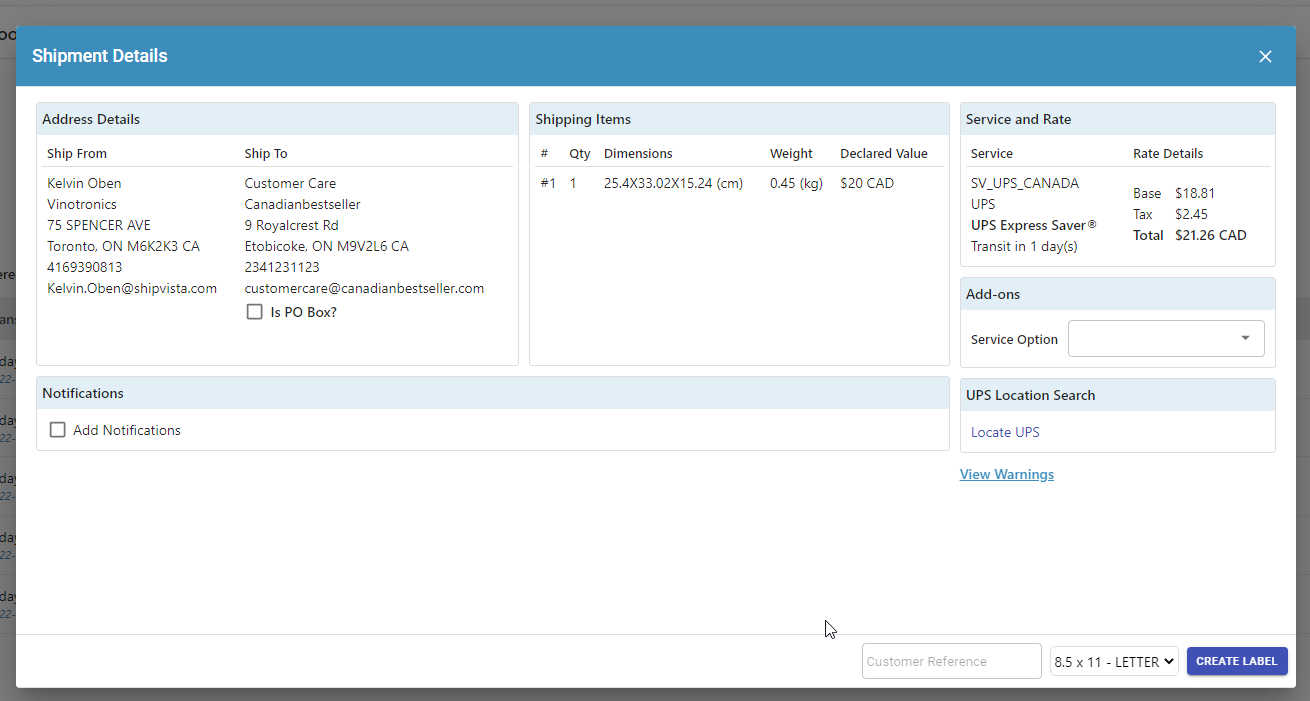
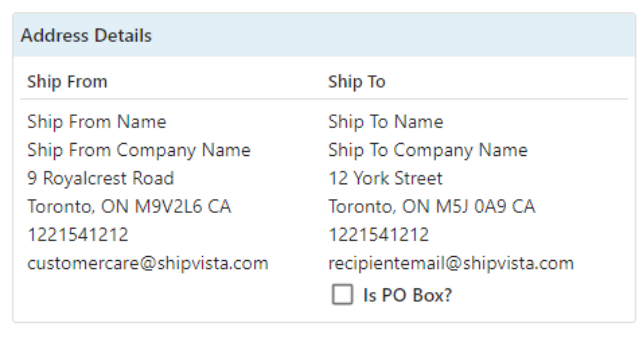
The top part of this dialog will show you everything related to the shipment.
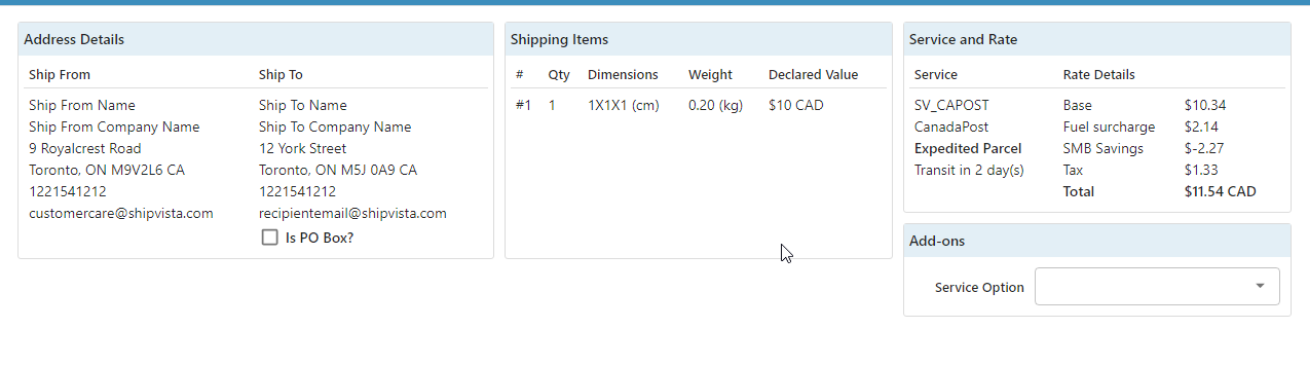
This includes the address details.
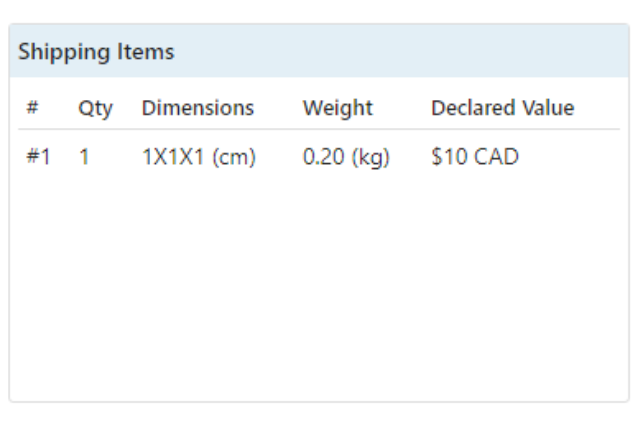
The shipping items.
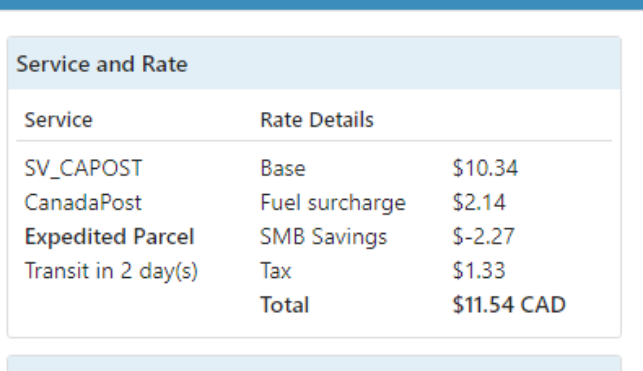
And the service and rate details.
There is also an optional field to select any additional add-ons for the shipments.
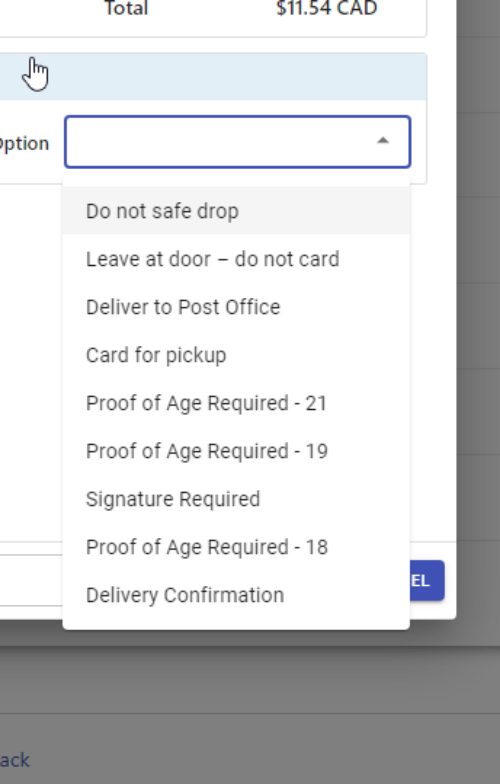
When you select an add-on, the cost will be updated in the service and rate details section.
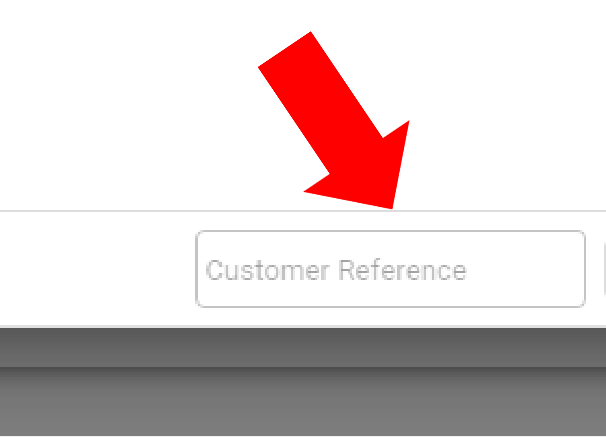
There is another optional field at the bottom of the dialog for you to add customer references.
When you select an add-on, the cost will be updated in the service and rate details section.
There is another optional field at the bottom of the dialog for you to add customer references.
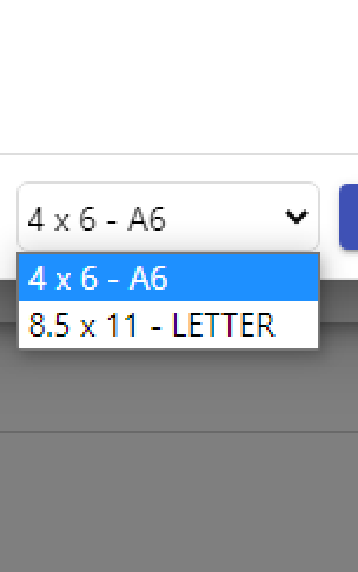
Besides the customer reference, you can select the paper size.
When you are satisfied with the details, click 'Create Label'.
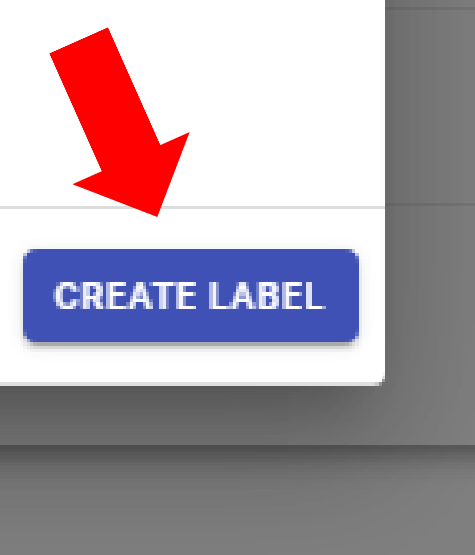
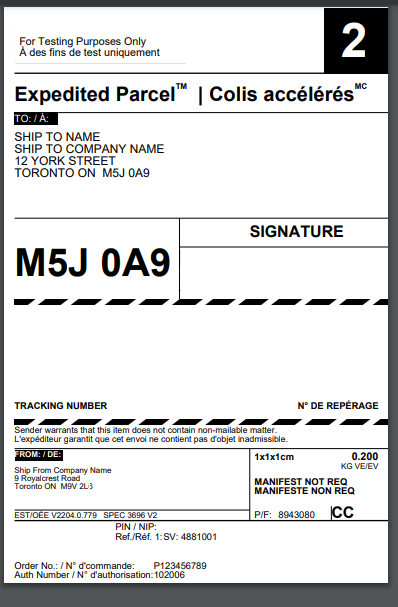
Another dialog will open and show you the label.
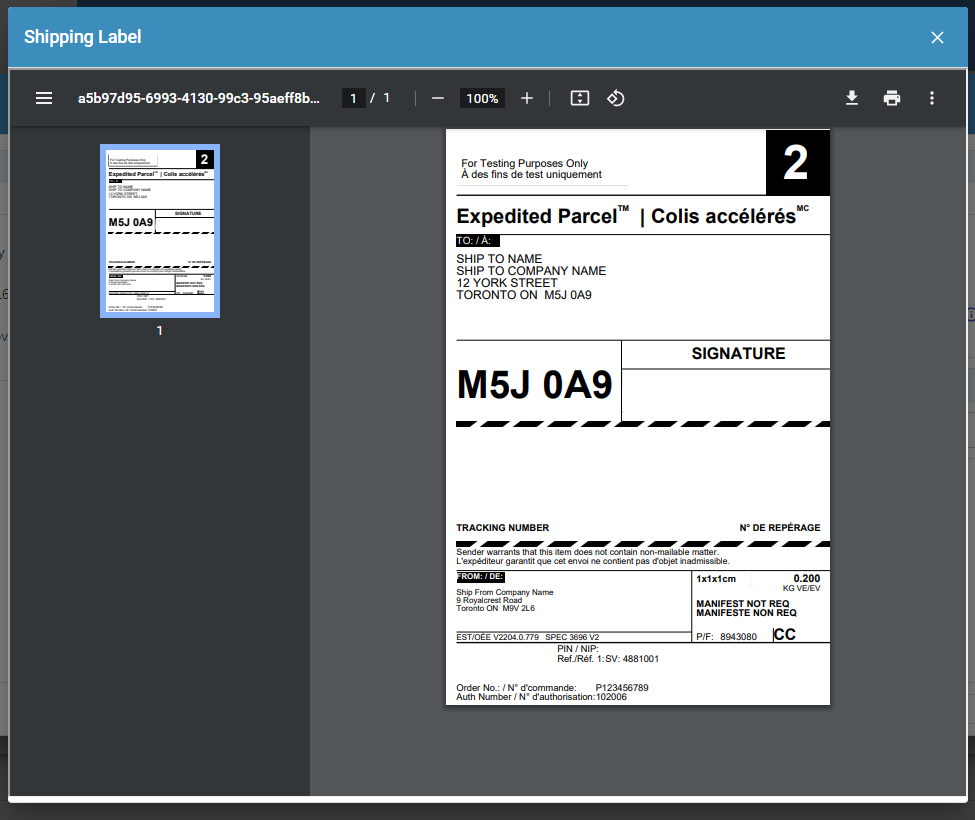
You can print or download the label at the top right-hand corner of the dialog.