Article Directory
- ShipVista Help
- Integrations
- Workflows
- Guides & FAQs
Settings Overview
In this Article
About
The settings pages within ShipVista allow you to modify and edit any settings related to your account that apply throughout the entire application. The pages within the settings are placed into categories that allow you to better understand their functionality as well as identify related settings. The categories can be seen on the sidebar of the settings part of the application and are listed below:
- Account:
User related-settings. Includes My Profile, Payments, Offers Available, Transaction History, Subscription, and Air Miles Rewards.
- Integrations:
Settings related to integrations with different carriers, marketplaces, or stores. Includes Store Setup and Carrier Setup.
- Shipping:
Settings that are used to aid in the shipping process. Includes Address Book and Box Library.
- Feed:
Settings that allow you to manage feeds and their statuses. Includes Bulk Orders Feed and Bulk Affiliate User Feed.
Content
You can access the setting pages by using the sidebar after navigating to the settings in the top navigation
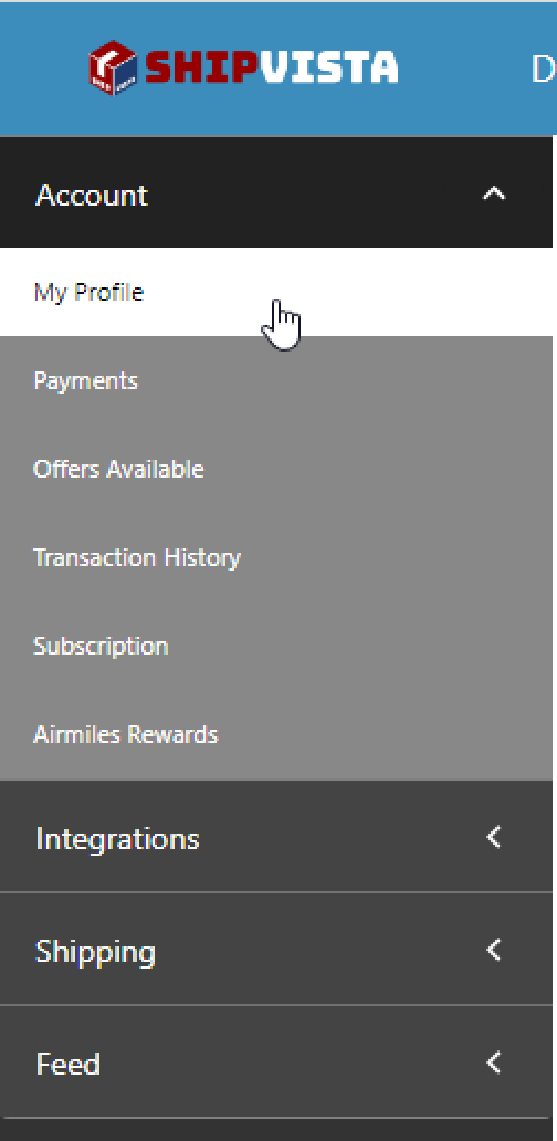
Navigate to the account settings by clicking on the settings icon in the top navigation.

On the left, you will see the settings sidebar, which will list all the settings categories mentioned above with the individual settings pages under each category. Each category will be a panel on the sidebar, and by default, the account panel will be expanded, with the current page set to My Profile.
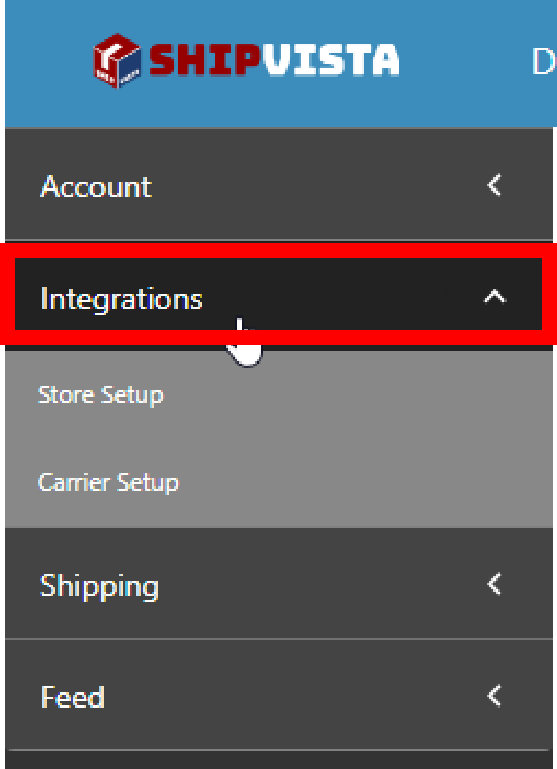
Expand the panel for a specific category to see the pages under that category. In this example, we will expand the 'Integrations' panel to see the pages under the Integrations Category.
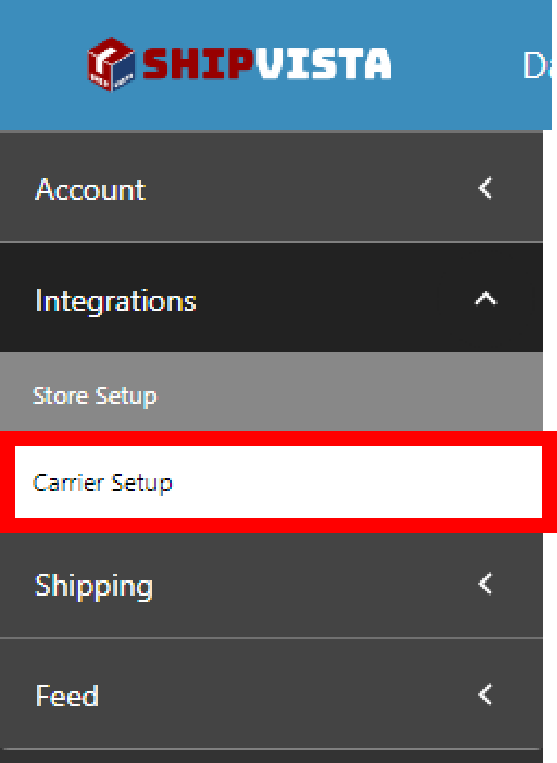
You will see the pages under the chosen category. For this example, we can see the Store Setup and Carrier Setup settings pages. Click on a page to set it as the active page.
After a settings page has been set as the active page, it will be highlighted white on the settings sidebar.
You can access each of the setting pages by using the Username dropdown navigation widget in the top right corner of the application.
While inside the application, click your username to open the Username dropdown widget.
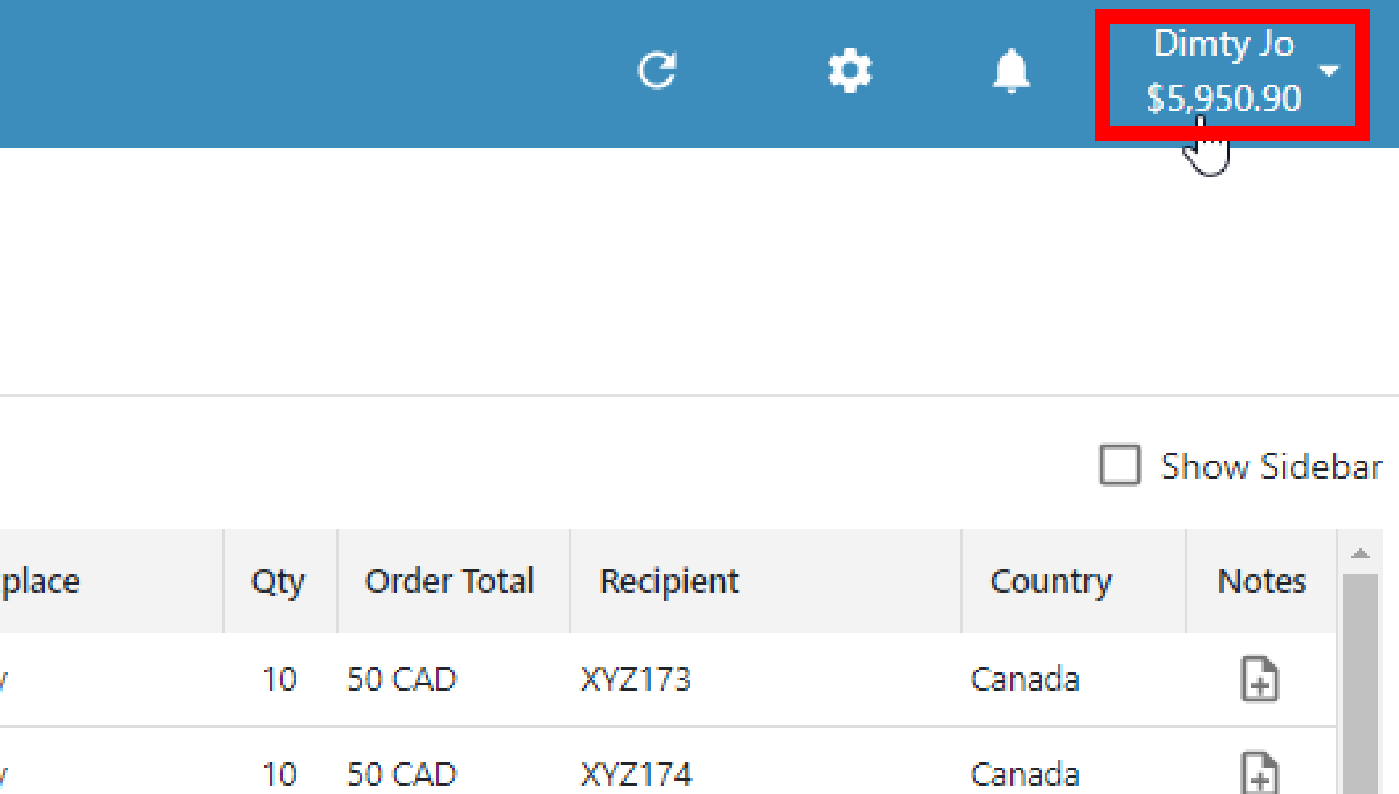
This widget will allow you to quickly access the most important user information directly from any page, such as your account number and current balance, as well as each of the setting pages.
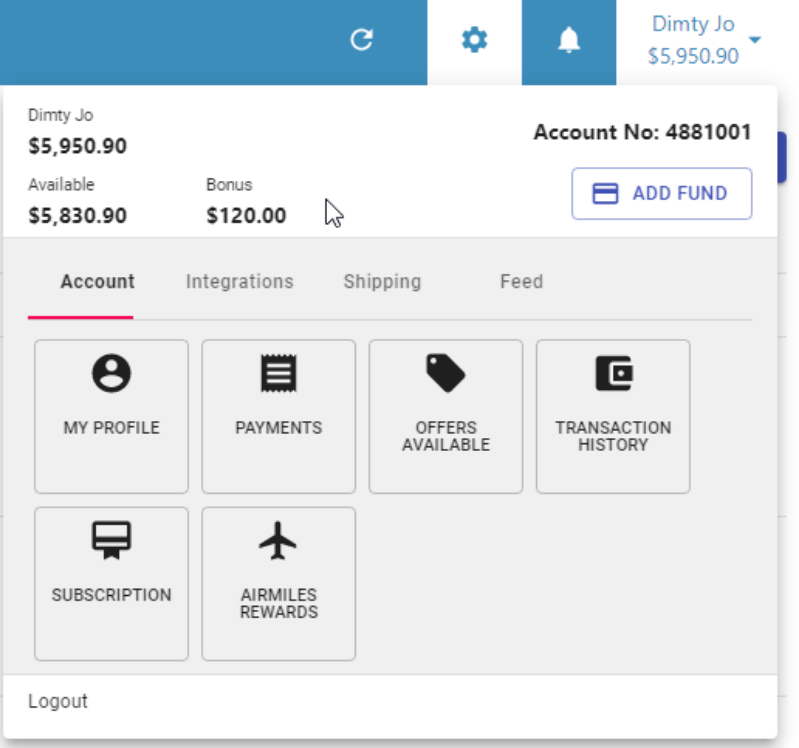
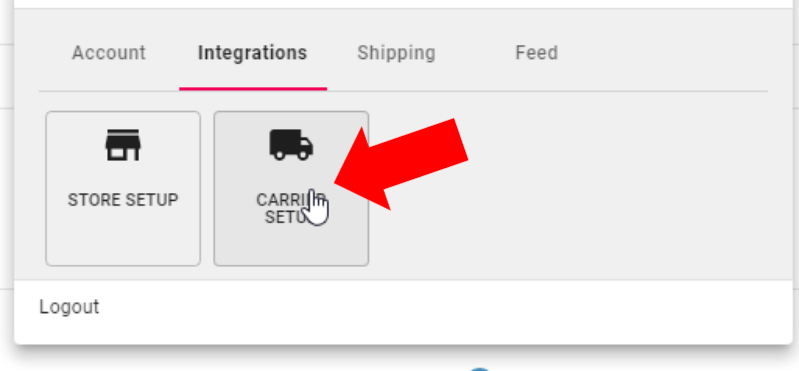
Each of the tabs in the lower portion of the widget corresponds to each category of the user settings.
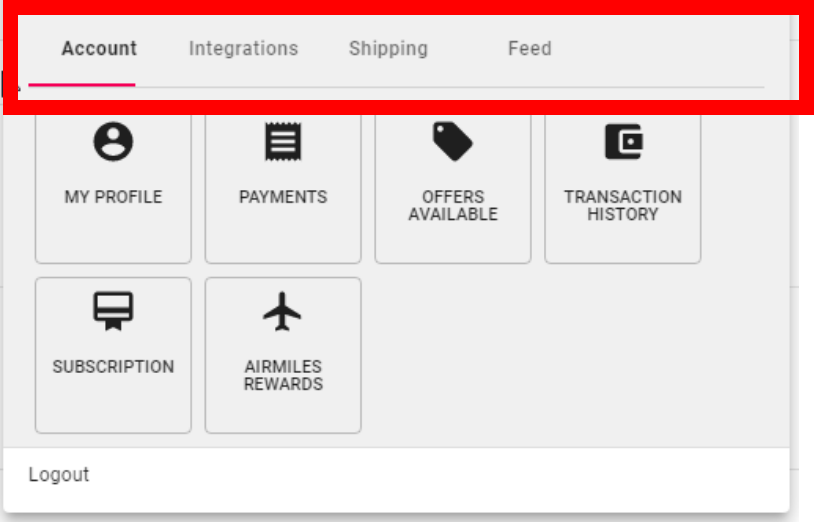
Clicking on the tab for a specific category will change the bottom panel to display pages under that category. By default, the tab for the Account category will be active, meaning the account-related setting pages will be shown. For this example, we will select the 'Integrations' tab to show all the setting pages under integrations.
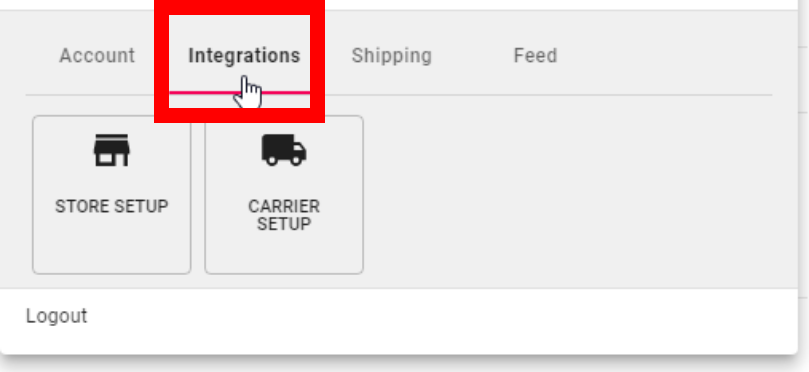
Select the settings page you want to visit by clicking on the button within the active tab panel that matches. For this example, we will visit the Carrier Setup page. When the button is clicked, the page for carrier setup settings will be displayed immediately.